Eating In // Canned Peaches
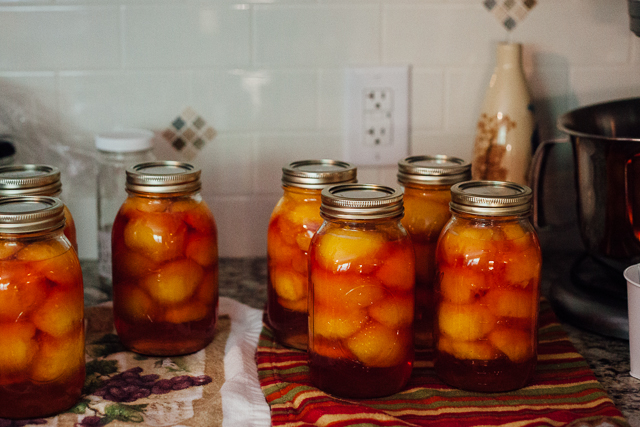
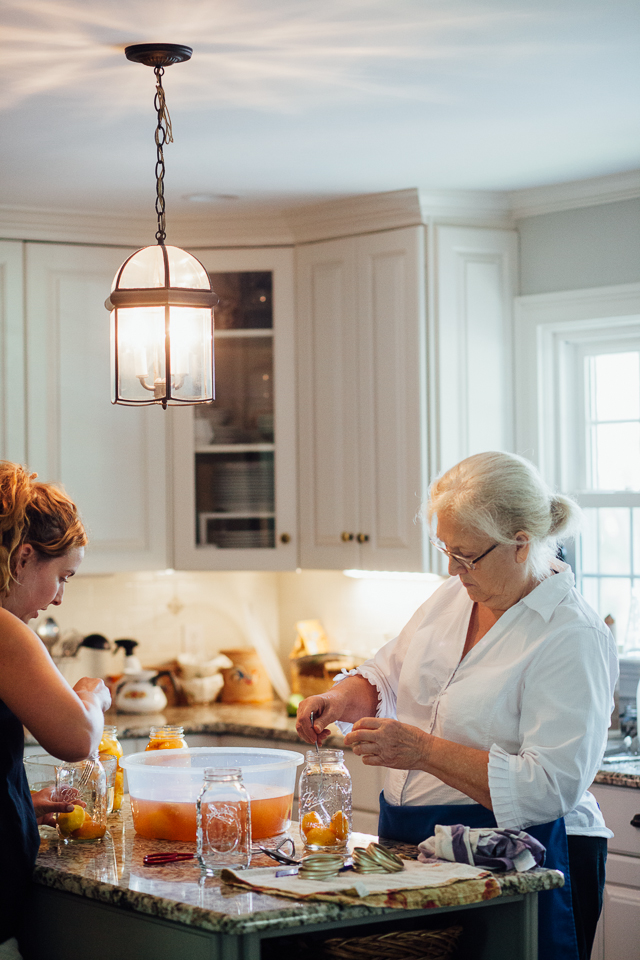
This summer I had my first experience with canning peaches. My Grandma had done it many times with her mother. Since it had been a while since she did it, and me being a novice, we went through a bit of trial and error. Ultimately, the method came back to her. It is pretty simple but does require some equipment you may not have lying around. Another item to note is that we packed ours in simple syrup (equal parts water and sugar) but that part is optional. If you don't want the added sugar then you can simply use water. When I asked my Grandma how these peaches are meant to be eaten she replied with "over biscuits with the syrup on top :)". I will say, it is worth the trouble because come January, I am going to be loving these summer peaches.
-Megan
Supplies:
- 1 canning kit (includes pot and utensils)
- 7, 1 quart jars
- 1/2 bushel of fresh peaches- we used Monroe peaches from SC
- 5 1/2 cups of sugar
- 5 1/2 cups of water
- lemon juice or citric acid powder to keep the peaches from turning brown

1. The first step is to peel, pit and cut the peaches. We went about this by boiling the peaches in a pot for 30 seconds and then shocking them in ice water. You don't have to do this. You can just peel them but it does soften the skin and make them much easier to peel. Once peeled, cut them in half and place in a water bath with lemon juice or citric acid to keep them fresh looking.
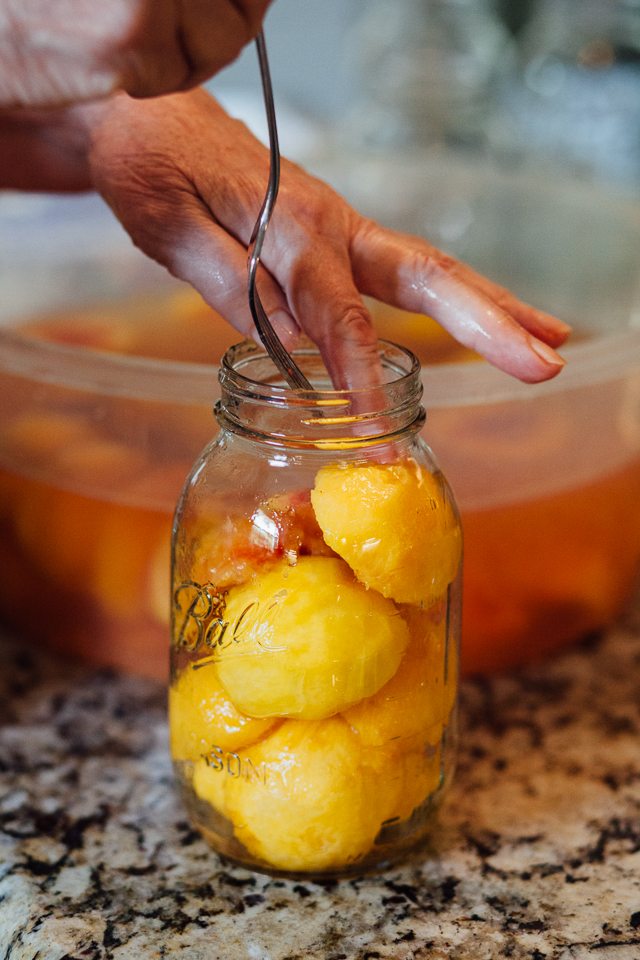
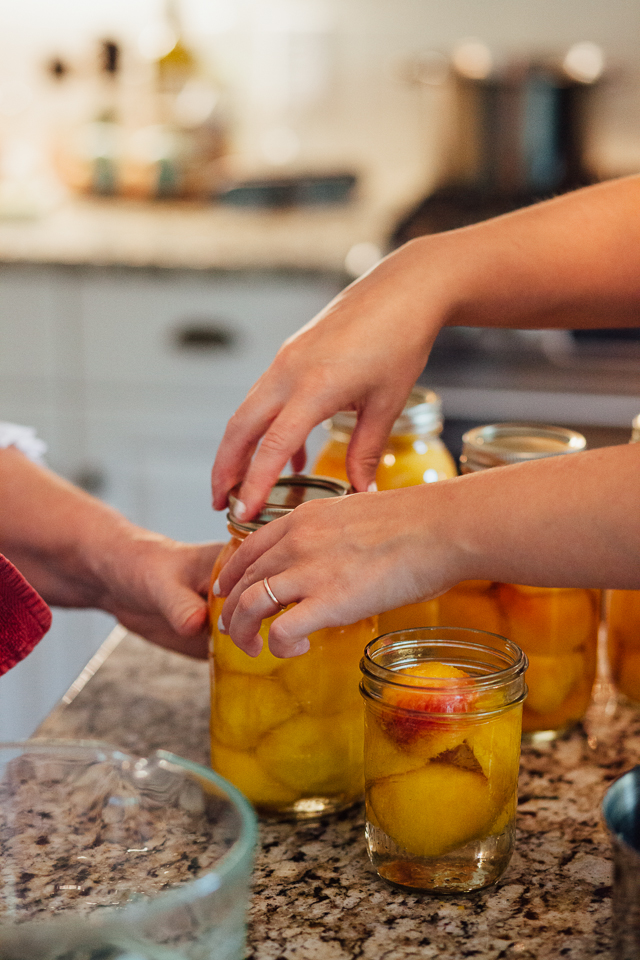
2. This part was the trickiest part of the whole deal- placing the peaches cut side down into the jar. This is the best way to fit the most peaches in as possible. We used a fork to gently coerce them into going cut side down because they really just wanted to go in the other way. You can probably see the impatience written all over my face ;)
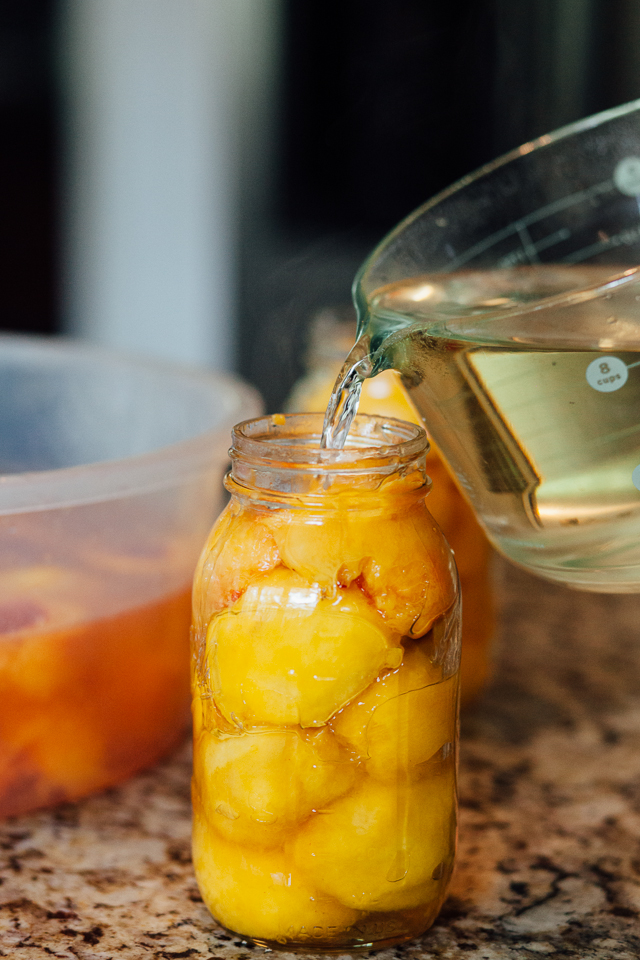
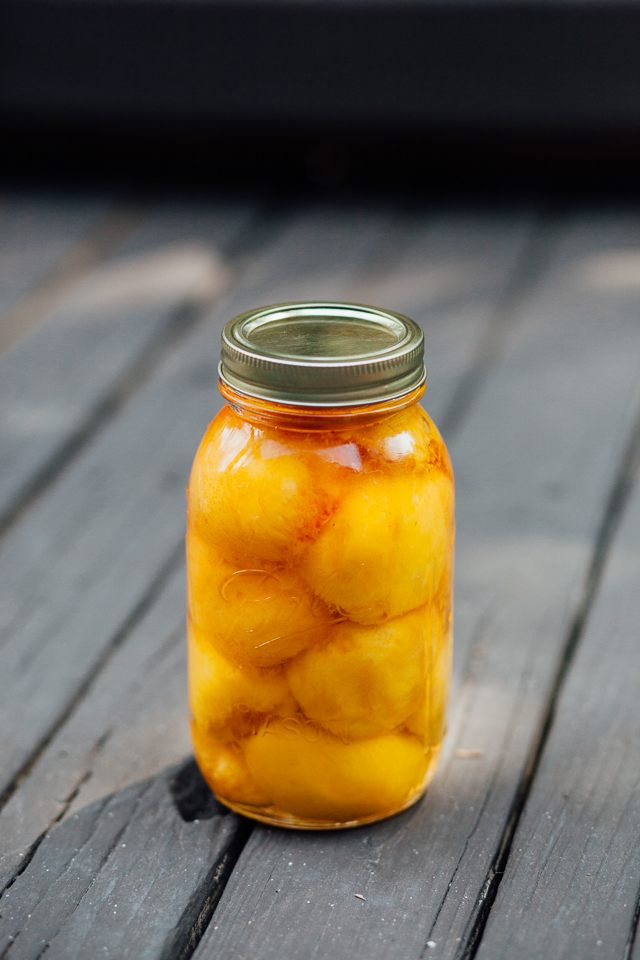
3. Pour about 1.5 cups of the simple syrup into each jar. To make the syrup, simply boil equal parts sugar and water for about 5 minutes. You want to leave a 1/2 inch from the top.

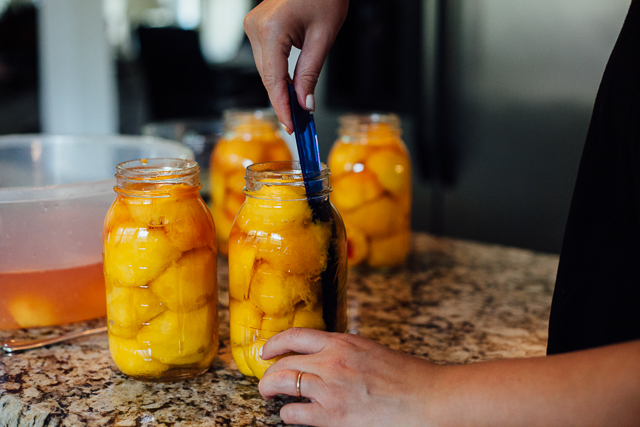
4. Remove the air bubbles using this little tool that should have come with you canning kit.
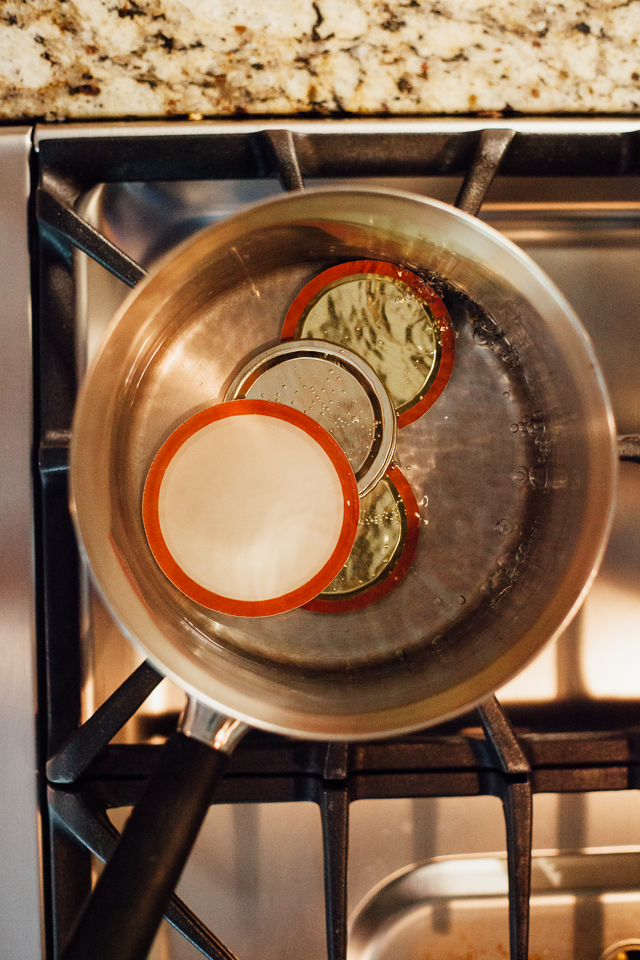
5. Boil the lids so they are nice and hot.

6. Wipe the tops of the jars with a cloth. Make sure they are clean and dry so that the lids adhere.
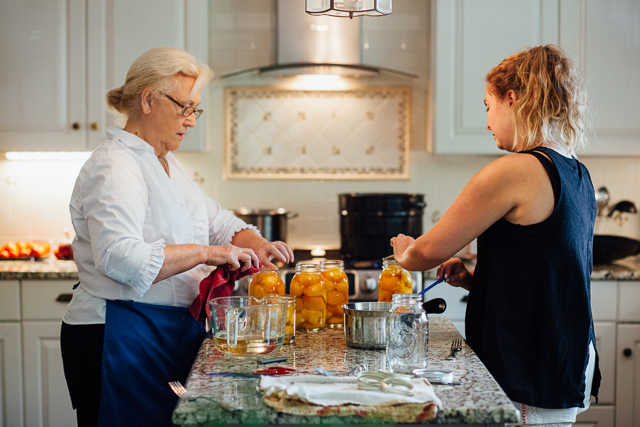
7. Using the magnet tool in your kit, grab the hot lids and top all of the jars. Screw on the ring very tightly over the top.
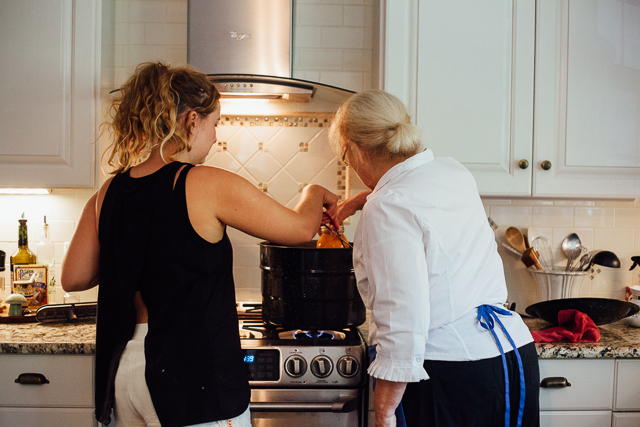
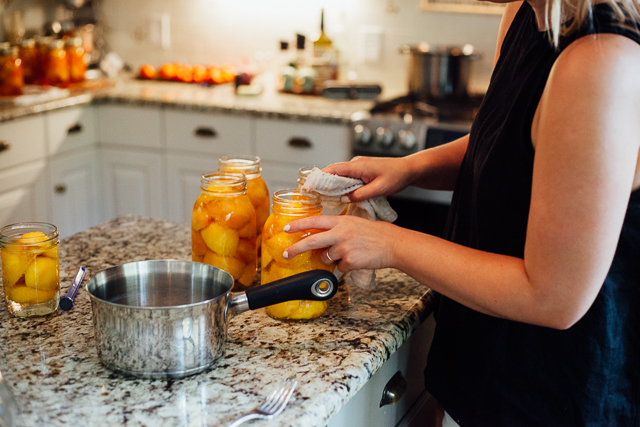
8. Place the jars into the canning pot that is filled about halfway with boiling water. The jars should be covered completely with water. If you don't have enough then simply add more boiling water to the top. If you water cools down and is no longer boiling, bring it back up to a boil and cooked the cans for 30 minutes.
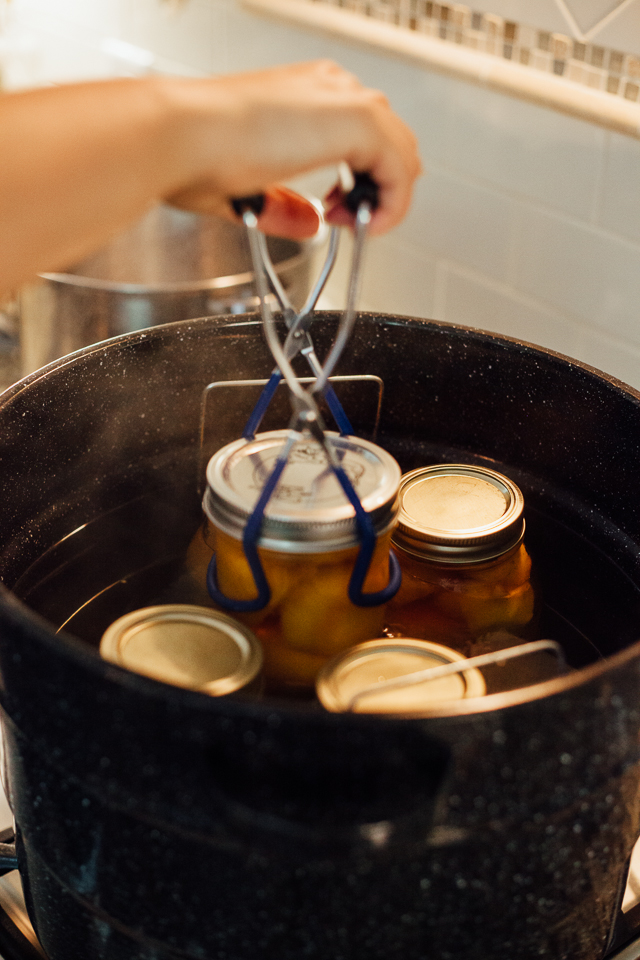
9. After cooking for 30 minutes, remove from the pot and place in an area where they can be undisturbed for 12 hrs at least. As time goes by you should be able to hear the lids sealing- music to your ears.