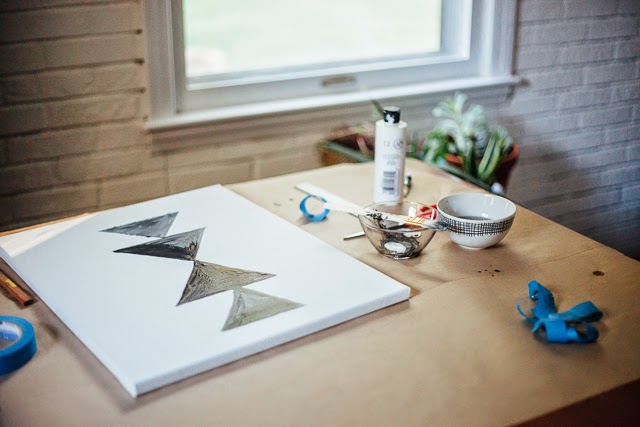
DIY // Geometric Wall Art

Here's a simple little project you can make if you need to add a little graphic punch to your walls. The fun thing about it is that you can make it in any size or color you need! Plus it's super easy. It's literally just a series of triangles. -Megan
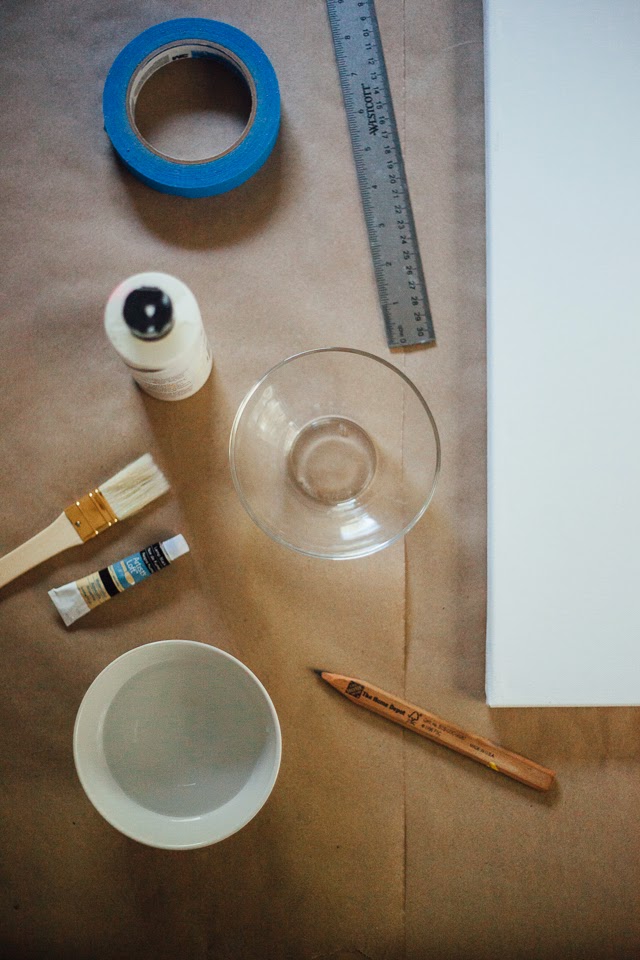
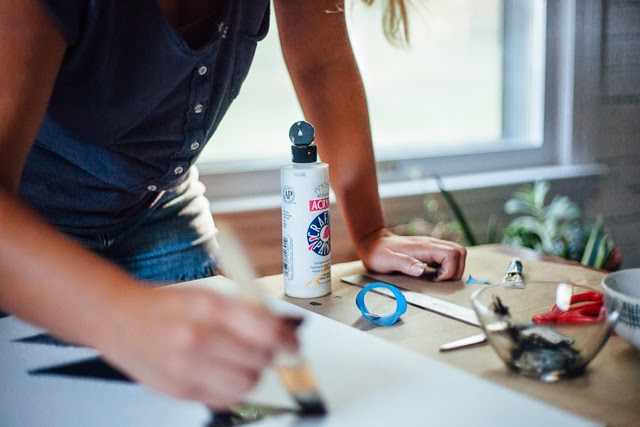
Supplies:
- Black or gray paint- I mixed a little black and white so the color would be a little more interesting
- painters tape (optional)
- ruler
- pencil
- canvas
- paintbrush
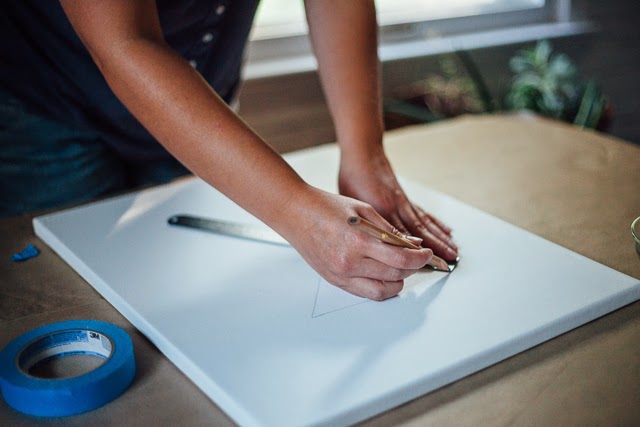
Step one:
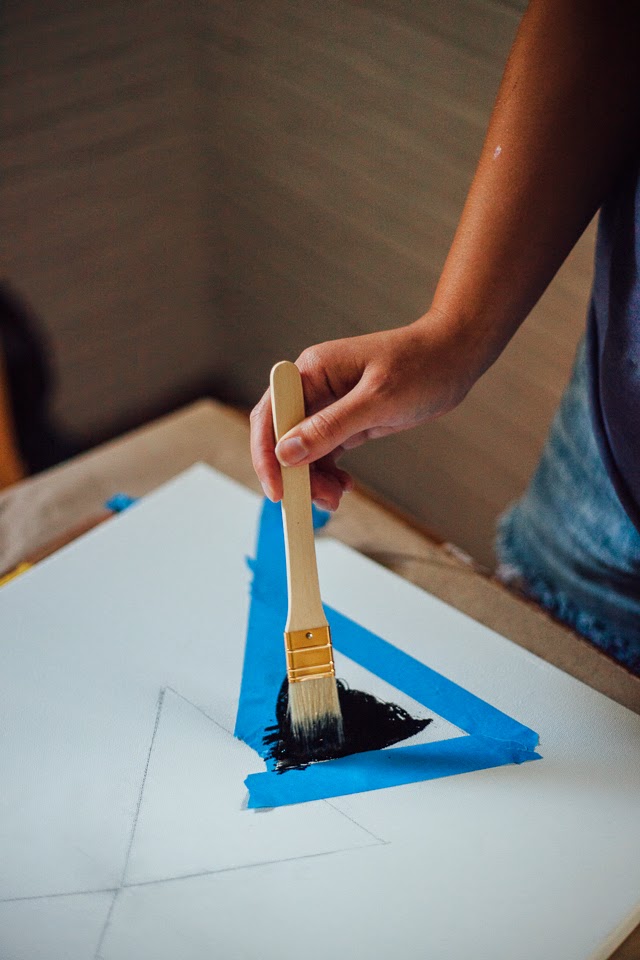
Draw two triangles opposite to one another in the center of the canvas. They should be 5" on each side. Use the ruler to measure the sides and ensure a straight line. Once you have the first two triangles drawn, draw two more on either side with the tips touching the base of the first triangles They should be about 4" for each side.

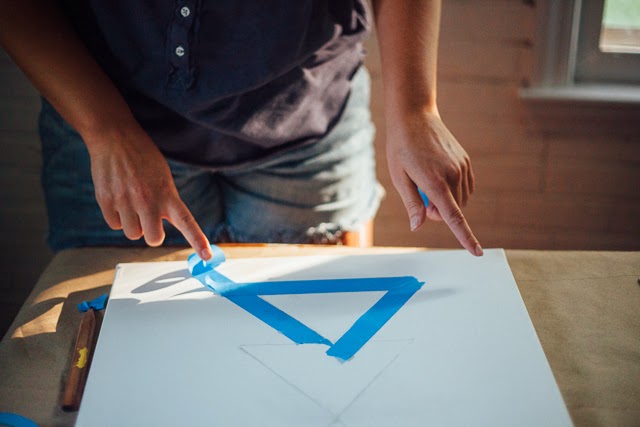
Step two:
Tape off the triangles. It only works if you tape it down really well. You have to tape each triangle individually. I decided to skip this step, you'll see why in a minute.
Step three:
Lightly mix the black paint with the white paint and begin to fill in the triangles. I didn't do such a swell job taping mine off so I decided to go free hand (totally your choice).


Final step:
Allow to dry before removing tape if you used it. If not, practice patience and let it dry before you put it on the wall somewhere. Now get out there and make something!